个性化图像处理工具实现
概述
详细
一、运行效果
二、实现原理
图像处理,核心是用c#中的位图类, (Bitmap), 遍历图像中的每一个 像素点,进行 像素color值的修改,达到处理图像的目的,ps等图像处理 工具 应该也是 这个 原理。 图片的裁剪功能,则是 创建 指定大小的矩形区域,在每一个像素点上,填充上需要的色值即可,难点在于图像位置的计算,代码结构设计,公共层数据的设计, 图像的显示等内容,下面是具体实现内容。
三、实现过程
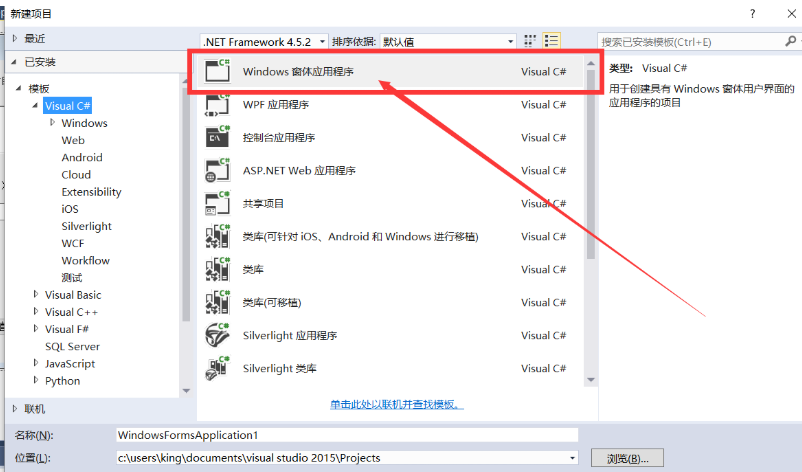
1. 创建c#常规应用程序,搭建基本界面
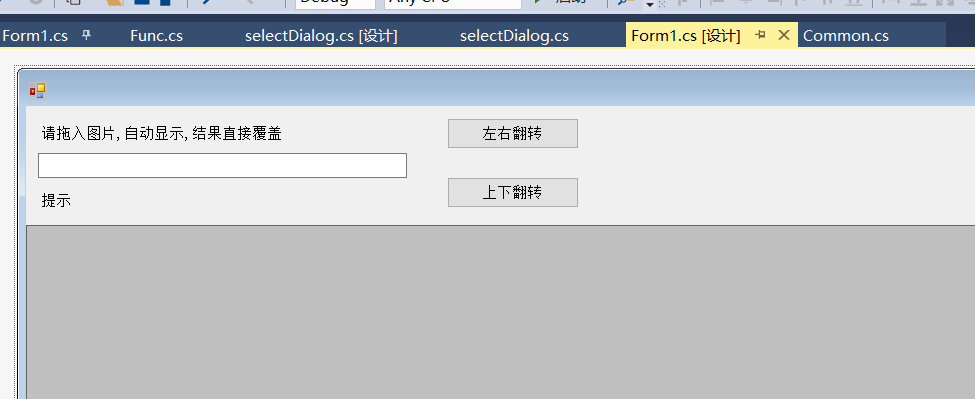
请到官方下载vs2015或其他版本,创建c#程序,参照对用的显示内容,创建对应的按钮,文本框,之类的组件。
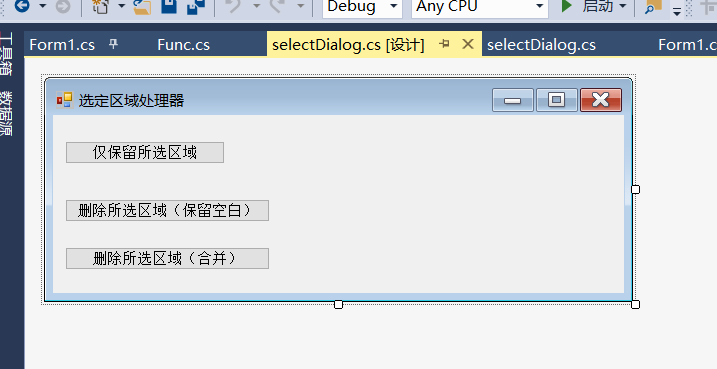
2. 实现拖拽图像,显示图像
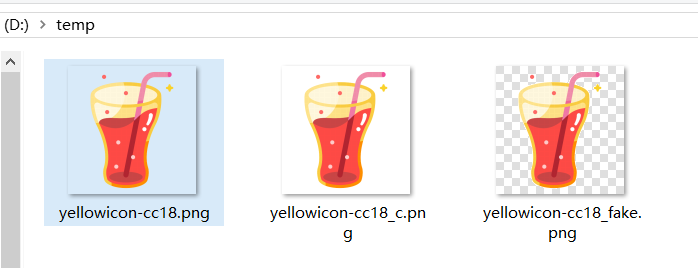
为了实现图像的显示,更加方便的操作图像,此工具使用,直接 拷贝图像, 把图像和 背景的灰白显示重新合成一张临时图像,存储到同级目录中去,然后把此图 设置为组件panel 的 背景 图像,进行显示,虽然有点复杂,但是可以避免panel 上,Graphics g 重新绘制导致图像的丢失 问题。 自动生成图像如下, 核心代码如下:
1.拖拽功能 实现
       private void Form1_DragOver(object sender, DragEventArgs e)
        {
            string fileInfo = ((System.Array)e.Data.GetData(DataFormats.FileDrop)).GetValue(0).ToString();
            if (fileInfo.EndsWith(".png") && !textBox1.Text.Equals(fileInfo))
            {
                if (File.Exists(fakeImgPath))
                {
                    File.Delete(fakeImgPath);
                }
                curImgPath = fileInfo;

            }
        }

        // 增加 定时器,根据curImgPath 值,自动显示
         private void timer1_Tick(object sender, EventArgs e)
        {
            if (curImgPath != "")
            {
                FileInfo fileImg = new FileInfo(curImgPath);
                curImgPath = curImgPath.Replace(".png", "_c.png");
                fileImg.CopyTo(curImgPath, true);
                textBox1.Text = curImgPath;
                fakeImgPath = curImgPath.Replace("_c.png", "_fake.png");
                Common.setPanelImg(curImgPath, fakeImgPath);
                curImgPath = "";
            }

            if (label2.Text != "提示")
            {
                TimeSpan ts = DateTime.Now - new DateTime(1970, 1, 1, 0, 0, 0, 0);
                Int64 curTime = Convert.ToInt64(ts.TotalSeconds);
                if (logTime == 0)
                {
                    logTime = curTime;
                    return;
                }
                if (curTime - logTime > 1)
                {
                    label2.Text = "提示";
                    logTime = 0;
                }
            }

        }
2. 处理显示图像实现,包含生成临时文件,生成带背景灰白像素图像的处理。
     public static void setPanelImg(String imgDir, String tempDir) // DrawImgByDrop
        {
            FileInfo fileInfo = new FileInfo(tempDir);
            if (fileInfo.Exists)
            {
                fileInfo.Delete();
            }
            curPanel.Refresh();
            resImgPath = imgDir;
            tempImgPath = tempDir;

            Image curImg = Image.FromFile(imgDir);
            curImgBitmap = new Bitmap(curImg);

            imgWidth = curImgBitmap.Width;
            imgHeight = curImgBitmap.Height;

            drawPosx = panelWidth / 2 - imgWidth / 2;
            drawPosy = panelHeigfht / 2 - imgHeight / 2;


            mixFakeImgBitmap = new Bitmap(imgWidth, imgHeight);
            DrawImgBg();
            DrawMixImg();
            mixFakeImgBitmap.Save(tempDir, System.Drawing.Imaging.ImageFormat.Png);
            mixFakeImgBitmap.Dispose();

            Image img = Image.FromFile(tempDir);  // 图像存储,panel 显示
            Bitmap imgc = new Bitmap(img);
            curPanel.BackgroundImage = imgc;
            curImg.Dispose();
            img.Dispose();

        }

        // 画 灰白间隔 的背景
        public static void DrawImgBg()
        {
            int baseDis = 8;
            int widthInterger = imgWidth / baseDis;
            int heightInterger = imgHeight / baseDis;

            Color black = Color.FromArgb(0xFF, 0xDF, 0xDF, 0xDF);
            Color white = Color.White;
            for (int y = 1; y <= heightInterger; y++)
            {
                for (int x = 1; x <= widthInterger; x++)
                {
                    Color col;
                    if ((x % 2 == 1 && y % 2 == 1) || (x % 2 == 0 && y % 2 == 0))
                    {
                        col = black;
                    }
                    else
                    {
                        col = white;
                    }

                    SetFakeImgBgOneRect(col, (x - 1) * baseDis, (y - 1) * baseDis, baseDis, baseDis);
                }
            }
            int widthResidue = imgWidth - widthInterger * baseDis;
            int heightResidue = imgHeight - heightInterger * baseDis;
            Color startXColor = widthInterger % 2 == 1 ? white : black;
            Color nextXColor = startXColor == white ? black : white;
            for (int y = 1; y <=heightInterger; y++)
            {
                Color col = y % 2 == 1 ? startXColor : nextXColor;
                SetFakeImgBgOneRect(col, widthInterger * baseDis, (y - 1) * baseDis, widthResidue, baseDis);
            }
            Color startYColor = imgHeight % 2 == 1 ? white : black;
            Color nextYColor = startYColor == white ? black : white;
            for (int x = 1; x <= widthInterger; x++)
            {
                Color col = x % 2 == 1 ? startYColor : nextYColor;
                SetFakeImgBgOneRect(col, (x - 1) * baseDis, heightInterger* baseDis, baseDis, heightResidue);
            }
            Color endCol = heightInterger % 2 == 1 ? nextXColor : startXColor;
            SetFakeImgBgOneRect(endCol, widthInterger * baseDis, heightInterger * baseDis, widthResidue, heightResidue);
        }

        // 画真正的图
        public static void DrawMixImg()
        {
            for (int y = 0; y < imgHeight; y++)
            {
                for (int x = 0; x < imgWidth; x++)
                {
                    if (curImgBitmap.GetPixel(x, y).A != 0)
                    {
                        Color pixel = curImgBitmap.GetPixel(x, y);
                        mixFakeImgBitmap.SetPixel(x, y, pixel);
                    }
                }
            }
} 3. 实现鼠标勾勒淡蓝色选择区域
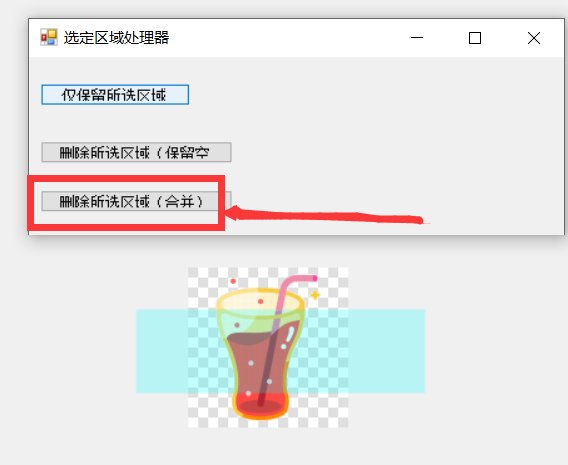
为了方便操作,必须有 鼠标选择图像区域的功能,此功能的实现逻辑 ,就是根据鼠标按下,移动,释放等事件,在panel 绘制对应的图像,用于操作指定区域的像素。
       //按下鼠标, Refresh()--清除之前的所画内容,记录开始坐标
      private void panel1_MouseDown_1(object sender, MouseEventArgs e)
        {
            panel1.Refresh();
            startPoint = new Point(e.X, e.Y);
            mouseDown = true;
        }
        //移动鼠标,计算矩形区域,用于绘制
        private void panel1_MouseMove(object sender, MouseEventArgs e)
        {
            if (mouseDown)
            {
                panel1.Refresh();
                Point mouseXY = new Point(e.X, e.Y);
                Rectangle rect = Func.PointsToRectangle(startPoint, mouseXY);

                selectedPath.Reset();
                selectedPath.AddRectangle(rect);
                curG.SmoothingMode = SmoothingMode.AntiAlias;
                curG.FillPath(new SolidBrush(Color.FromArgb(60, Color.Cyan)), selectedPath);
            }
        }
        //判断 所绘区域与 图像是否有交集,有则显示 无则消失蓝色区域
        private void panel1_MouseUp(object sender, MouseEventArgs e)
        {
            Point mouseXY = new Point(e.X, e.Y);
            mouseDown = false;
            if (Common.CheckIsSelectRect(startPoint, mouseXY))
            {
                Form selecedDialog = new selectDialog();
                selecedDialog.Show();
            }
            else {
                panel1.Refresh();
            }
        }

        #region  检查是否选择上
        public static bool CheckIsSelectRect(Point startPonit, Point endPoint)
        {
            selectedRect = new Rectangle(drawPosx, drawPosy, imgWidth, imgHeight);
            Rectangle selectAllRect = new Rectangle(startPonit.X, startPonit.Y, endPoint.X - startPonit.X, endPoint.Y - startPonit.Y);

            if (selectedRect.IntersectsWith(selectAllRect))
            {
                selectedRect.Intersect(selectAllRect);

                return true;
            }
            else {
                return false;
            }
        }
#endregion4. (重点)图像处理
网上搜索c# 图像类,可以找到 所有的api相关内容,此处自己实现特殊的九宫格 图像 等内容。需要设计好相关公共数据的逻辑代码,具体如下:
1. 窗体初始化相关参数
        public static string curImgPath = "";
        public static string fakeImgPath = "";

        public static Graphics curG;
        public static GraphicsPath selectedPath = new GraphicsPath();
        public static Int64 logTime;

        private Point startPoint;
        private bool mouseDown = false;
        public Form1()
        {
            InitializeComponent();

            this.DoubleBuffered = true;//设置本窗体
            SetStyle(ControlStyles.UserPaint, true);
            SetStyle(ControlStyles.AllPaintingInWmPaint, true); // 禁止擦除背景.
            SetStyle(ControlStyles.DoubleBuffer, true); // 双缓冲

            curG = panel1.CreateGraphics();
            Common.g = curG;
            Common.setArges(panel1, label2);

        }
2. Common 类实现 图像数据的存储
        public static Panel curPanel;
        public static Label curTips;
        public static Graphics g;
        public static int panelWidth ;
        public static int panelHeigfht;

        private static int drawPosx;
        private static int drawPosy;
        private static int imgWidth;
        private static int imgHeight;
        private static Bitmap curImgBitmap;
        private static Bitmap mixFakeImgBitmap;

        private static Rectangle selectedRect;
        private static String resImgPath;
        private static String tempImgPath;

        public static void setArges(Panel panel, Label tips)
        {
            curPanel = panel;
            panelWidth = curPanel.Width;
            panelHeigfht = curPanel.Height;
            curTips = tips;
        }
3. 完成以上2部分, 就可以根据需求,写单独的图像功能了, 此处,举几个比较复杂的例子功能
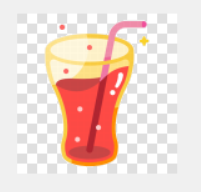
(1)删除 所选区域,合并像素, 此功能比较实用,在一些 资源处理的时候,很方便的使用,减少图像大小,然后在cocosuido等工具中再去拉伸处理
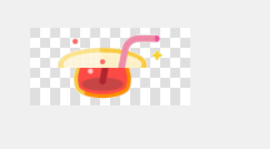
        public static void DeleteSelecedRectByMerge()
        {
            if (drawPosx < selectedRect.X && selectedRect.Width < imgWidth)
            {
                int oneX = selectedRect.X - drawPosx;
                int twoX = drawPosx +  imgWidth - selectedRect.X-  selectedRect.Width;
                Bitmap resBitmap = new Bitmap(oneX + twoX, imgHeight);
                for (int y = 0; y < imgHeight; y++)
                {
                    for (int x = 0; x < oneX; x++)
                    {
                        Color pixel = curImgBitmap.GetPixel(x, y);
                        resBitmap.SetPixel(x, y, pixel);
                    }
                }
                for (int y = 0; y < imgHeight; y++)
                {
                    for (int x = oneX; x < oneX + twoX; x++)
                    {


                        Color pixel = curImgBitmap.GetPixel(x + selectedRect.Width, y);
                        resBitmap.SetPixel(x, y, pixel);
                    }
                }
                runComAction(resBitmap);

            }
            else if (drawPosy < selectedRect.Y && selectedRect.Height < imgHeight)
            {
                int oneY = selectedRect.Y - drawPosy;
                int twoY = drawPosy + imgHeight - selectedRect.Y - selectedRect.Height;
                Bitmap resBitmap = new Bitmap(imgWidth, oneY + twoY);
                for (int x = 0; x < imgWidth; x++)
                {
                    for (int y = 0; y < oneY; y++)
                    {
                        Color pixel = curImgBitmap.GetPixel(x, y);
                        resBitmap.SetPixel(x, y, pixel);
                    }
                }
                for (int x = 0; x < imgWidth; x++)
                {
                    for (int y = oneY; y < oneY + twoY; y++)
                    {
                        Color pixel = curImgBitmap.GetPixel(x, y + selectedRect.Height);
                        resBitmap.SetPixel(x, y, pixel);
                    }
                }
                runComAction(resBitmap);
            }
            else {
                MessageBox.Show("区域错误");
            }
        }
        #endregion
(2)裁剪功能
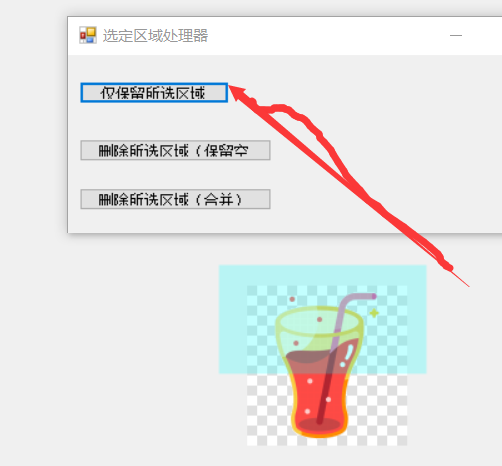
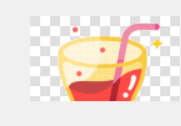
        public static void FunSaveSelecedRect()
        {
            Bitmap resBitmap = new Bitmap(selectedRect.Width, selectedRect.Height);
            for (int y = 0; y < selectedRect.Height; y++)
            {
                for (int x = 0; x < selectedRect.Width; x++)
                {
                     Color pixel = curImgBitmap.GetPixel(selectedRect.X - drawPosx + x, selectedRect.Y - drawPosy + y);
                     resBitmap.SetPixel(x, y, pixel);
                }
            }
            runComAction(resBitmap);
        }
(3)去像素功能
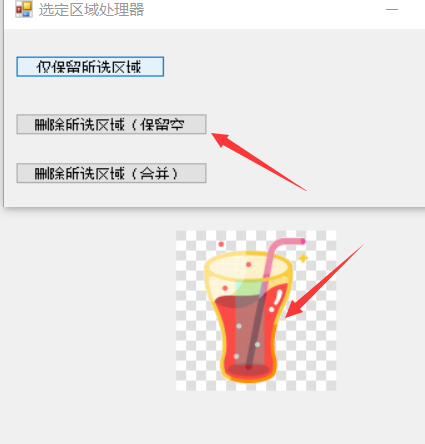
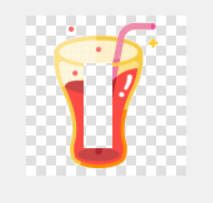
(4)切边处理功能, 此功能也比较 实用,可以减少空白像素的使用,很方便
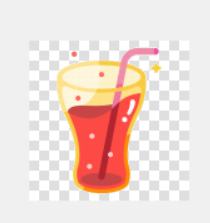
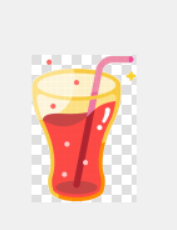
        public static void TrimDeal()
        {
            int startX = 0, endX = 0, startY = 0, endY = 0;
            int x, y;
            for (y = 0; y < imgWidth; y++)
            {
                if (startY != 0) break;
                for (x = 0; x < imgHeight; x++)
                {
                    if (curImgBitmap.GetPixel(x, y).A != 0 && startY == 0)
                    {
                        startY = y;
                        break;
                    }
                }
            }

            for (y = imgHeight - 1; y >= 0; y--)
            {
                if (endY != 0) break;
                for (x = imgWidth - 1; x >= 0; x--)
                {
                    if (curImgBitmap.GetPixel(x, y).A != 0 && endY == 0)
                    {
                        endY = y;
                        break;
                    }
                }
            }

            for (x = 0; x < imgWidth; x++)
            {
                if (startX != 0) break;
                for (y = 0; y < imgHeight; y++)
                {
                    if (curImgBitmap.GetPixel(x, y).A != 0 && startX == 0)
                    {
                        startX = x;
                        break;
                    }
                }
            }

            for (x = imgWidth - 1; x >= 0; x--)
            {
                if (endX != 0) break;
                for (y = 0; y < imgHeight; y++)
                {
                    if (curImgBitmap.GetPixel(x, y).A != 0 && endX == 0)
                    {
                        endX = x;
                        break;
                    }
                }
            }

            Color pixel;

            int afterWidth = endX - startX + 1;
            int afterHeight = endY - startY + 1;

            Bitmap resBm = new Bitmap(afterWidth, afterHeight);
            int x2, y2;
            for (y2 = 0; y2 < afterHeight; y2++)
            {
                for (x2 = 0; x2 < afterWidth; x2++)
                {
                    pixel = curImgBitmap.GetPixel(startX + x2, startY + y2);
                    resBm.SetPixel(x2, y2, Color.FromArgb(pixel.A, pixel.R, pixel.G, pixel.B));
                }
            }
            runComAction(resBm);
        }
#endregion5.工具扩展 功能 写法
此工具仅仅为demo 级别,还有 好多好多图像处理的功能可以添加,具体内容,仿照 上下翻转按钮,添加 对应的按钮即可,再写写对应的图像 处理方法,

      // 添加类似功能代码
       //region 左右翻转
        public static void RevPicLR()
        {
            Bitmap resBitmap = new Bitmap(imgWidth, imgHeight);
            int x, y, z; //x,y是循环次数,z是用来记录像素点的x坐标的变化的
            Color pixel;
            for (y = imgHeight - 1; y >= 0; y--)
            {
                for (x = imgWidth - 1, z = 0; x >= 0; x--)
                {
                     pixel = curImgBitmap.GetPixel(x, y);//获取当前像素的值
                     resBitmap.SetPixel(z++, y, pixel);//绘图
                }
            }
            runComAction(resBitmap);
        }
        #endregion

           private void button2_Click(object sender, EventArgs e)
        {
            if (textBox1.Text.Equals(""))
            {
                MessageBox.Show("路径 为空");
                return;
            }
            Common.RevPicLR();
        }
四、总结
此工具,为 demo级别,利用 c# 位图 功能, 轻松实现ps 的相关功能,有很高的可扩展性和方便性,可以定制化实现自己所需要的图像处理需求,在图像显示,修改,保存等方面,原理有点复杂,生成了多个临时文件,但是在closing的时候会自动销毁,根据遍历图像中每一个像素点,进行 设置color,进而修改到整个图像。整体工具逻辑基本如此,如有不足之处,请多包涵。
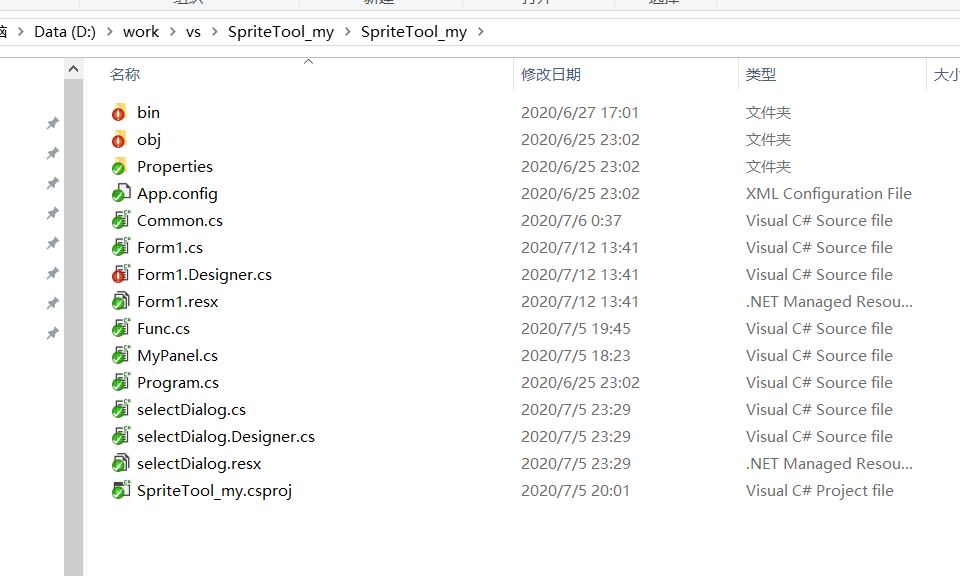
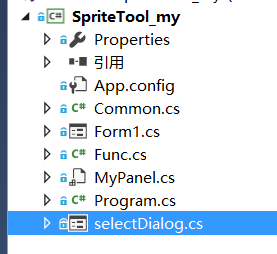
五、项目结构图
